
In this getting Started with Optimizely proof-of-concept (POC) blog series, I will walk you through the steps to get started with Optimizely SaaS using a Next.js starter app and deploy it to Vercel. This guide assumes you have access to the SaaS version of Optimizely CMS, a Vercel account, and a GitHub account.
Prerequisites
- Access to Optimizely SaaS Beta | Sign up for Optimizely SaaS Beta🡕
- Vercel Hobby Account | Sign up for Vercel Hobby Account🡕
- GitHub account | Sign up for GitHub🡕
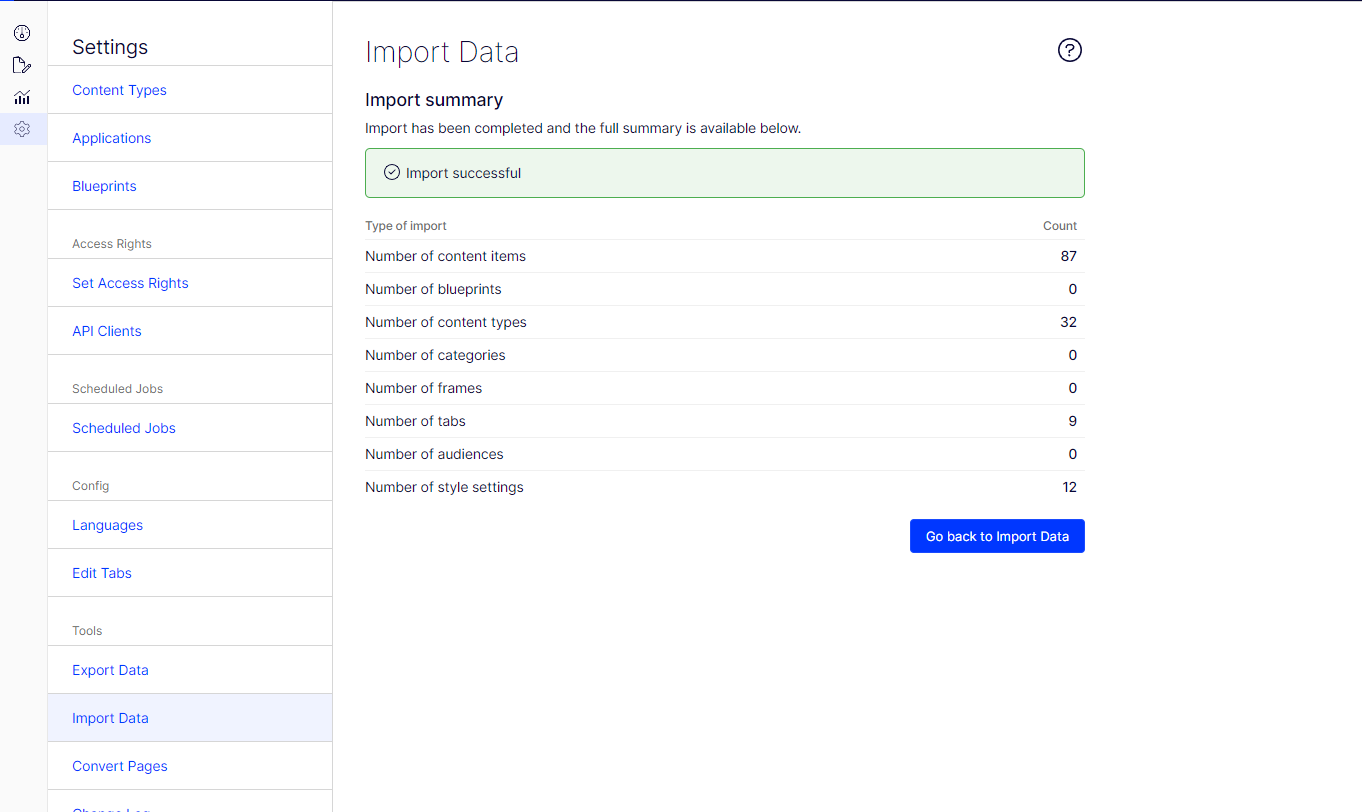
Step 1: Import Sample Data in Optimizely SaaS
- Log in to Optimizely SaaS: Use your Opti ID to log in to the Optimizely CMS.
- Import Sample Data:
- Downlaod the sample “Mosey Bank” data and import it.
- Navigate to
Settings > Import Data > Choose File. - Choose Root path under content tree.
- Click
Begin Import.
Step 2: Generate a Graph Token
- Go to
Settings > API Clients. - Create a new API client and generate the key/secret.
- Note down the generated key and secret for later use.

Step 3: Clone the Repository and Deploy to Vercel
- Go to the GitHub repository🡕.
- Click the “Deploy” button in the readme section to deploy this site to your Vercel Account.
- Create repository.
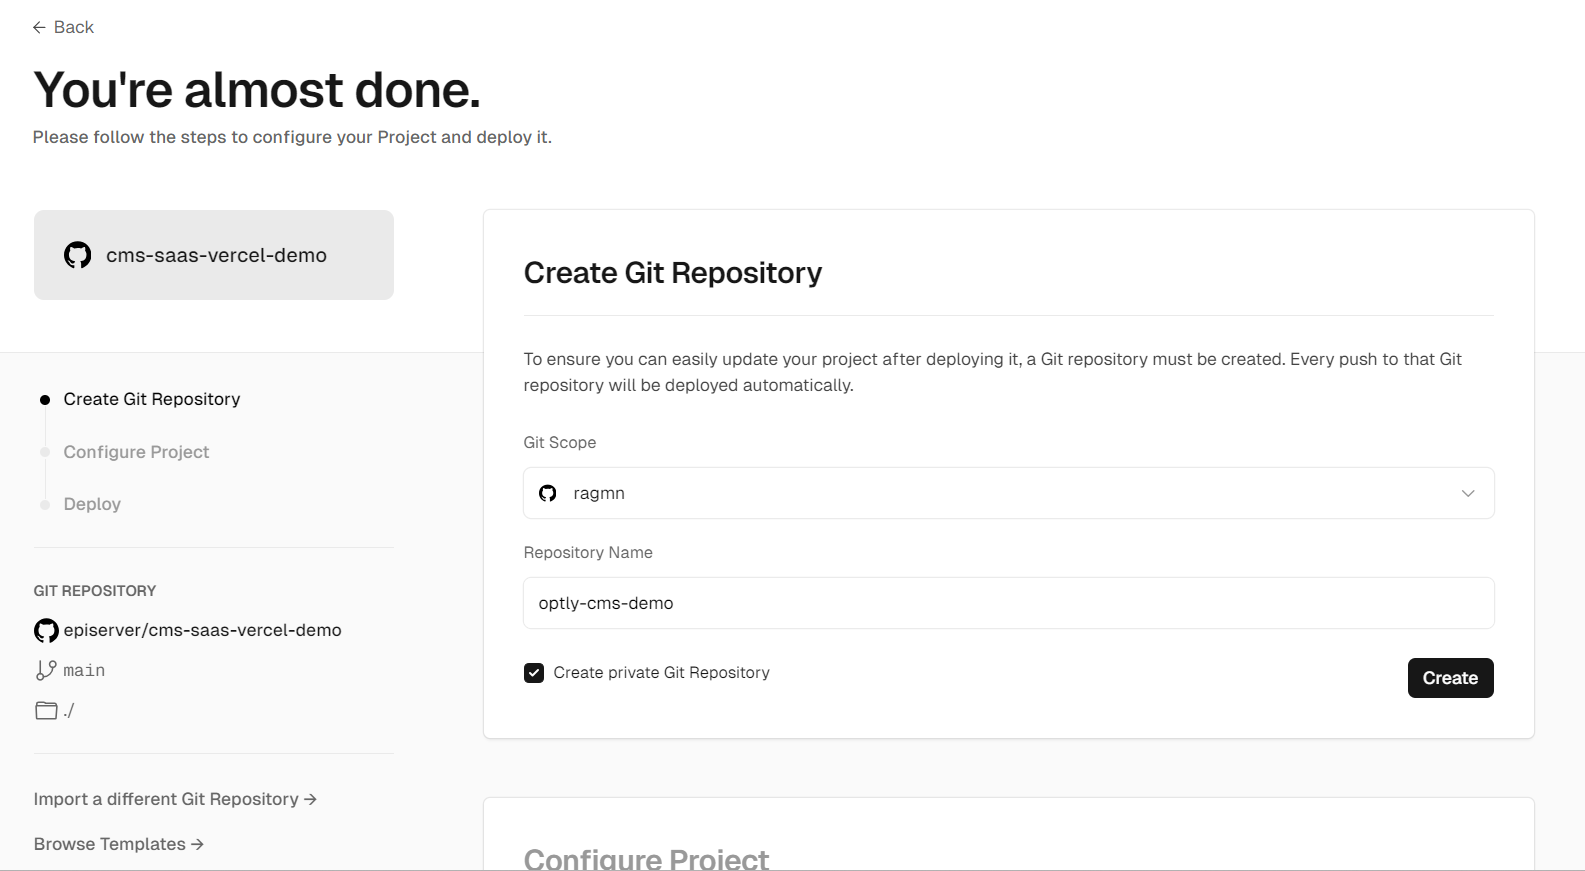
- Configure the Environmnet variables & click deploy

Environment Variable
- OPTIMIZELY_CMS_URL : The URL where the Optimizely CMS can be reached by the build process; for example: https://example.cms.optimizely.com/
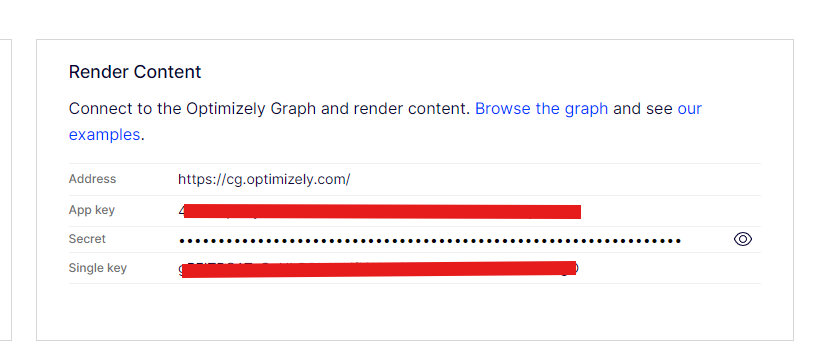
- OPTIMIZELY_GRAPH_SECRET : The Content Graph Secret can be made visible on the CMS Dashboard, within the “Render Content” section.
- OPTIMIZELY_GRAPH_APP_KEY : The Content Graph App key, which is shown on the CMS Dashboard, within the “Render Content” section.
- OPTIMIZELY_GRAPH_SINGLE_KEY : The Content Graph Single key, which is shown on the CMS Dashboard, within the “Render Content” section.
- SITE_DOMAIN : Vercel app URL(to be added later after deployment to configure visual editor)
Once the deployment is successful, your sample starter Mosey Bank website should be up & running, rendering data from Opti SaaS.

Step 4: Configure the visual editor in CMS
- Copy the Vercel hosted public URL.
- Go to
Settings > Applicationin Optimizely CMS. - Create a new Create Website Application and give it a name.
- Choose Start page as Mosey Bank root
- Click Create Website.
- Select created Application & go to hostnames
- Click hostname. Add the copied Vercel URL as hostname & select
enas locale.
Step 5: Verify the Deployment 🎉
- Navigate to the CMS edit section in Optimizely.
- Verify that the visual editor is running & displaying the imported sample data.

Conclusion
By following these steps, you have successfully set up an Optimizely SaaS environment, imported sample data, and deployed a Next.js starter app to Vercel. You can now explore and customize the application further to suit your needs. In the next part, we will explore how to configure local environgment, make content edits, extend a component to test the IRS & feature deployments in vercel.
References
Special thanks to Remko and Patrick for their valuable contributions & documentation.