Welcome to part 2 of getting Started with Optimizely proof-of-concept (POC) blog series. In the previous post, we explored how to integrate Optimizely SaaS using a Next.js starter app. This time, I will guide you through configuring your SaaS instance to work seamlessly with your local Next.js application. Additionally, we’ll cover how to publish seamless content updates from the SaaS instance. By the end of this guide, you’ll have a fully functional setup with your local development environment synchronized with your SaaS platform, enabling real-time updates and extended functionality.
Prerequisites
- Completion of Optimizely set up Part 1
- Visual Studio Code🡕
Configure Next.js App locally with Optimizely SaaS
- Clone the GitHub repository to your local machine, which you deployed in part 1.
- Go to
.envfile underapps\frontendand update the below variables with your Saas instance config values similar to part 1 vercel deployment step.- OPTIMIZELY_CMS_URL : The URL where the Optimizely CMS can be reached by the build process.
- OPTIMIZELY_GRAPH_SECRET : The Content Graph Secret can be made visible on the CMS Dashboard, within the “Render Content” section.
- OPTIMIZELY_GRAPH_APP_KEY : The Content Graph App key, which is shown on the CMS Dashboard, within the “Render Content” section.
- OPTIMIZELY_GRAPH_SINGLE_KEY : The Content Graph Single key, which is shown on the CMS Dashboard, within the “Render Content” section.
- OPTIMIZELY_CMS_CLIENT_ID : API Client ID configured in the CMS.
- OPTIMIZELY_CMS_CLIENT_SECRET : API Client Secret configured in the CMS.
- Open the project in VS Code & run a
npm installoryarn installcommand to install the necessary dependencies & start the development server using below command.
yarn next dev --experimental-https -p 3000To connect the SaaS instance to your local host, it must be running securely over HTTPS; otherwise, the visual editor will encounter errors. Running the app using the
yarn next devcommand will start it with only HTTP. Therefore, you need to ensure the app is served over HTTPS to avoid any issues with the visual editor.
- Launch the app in your browser at
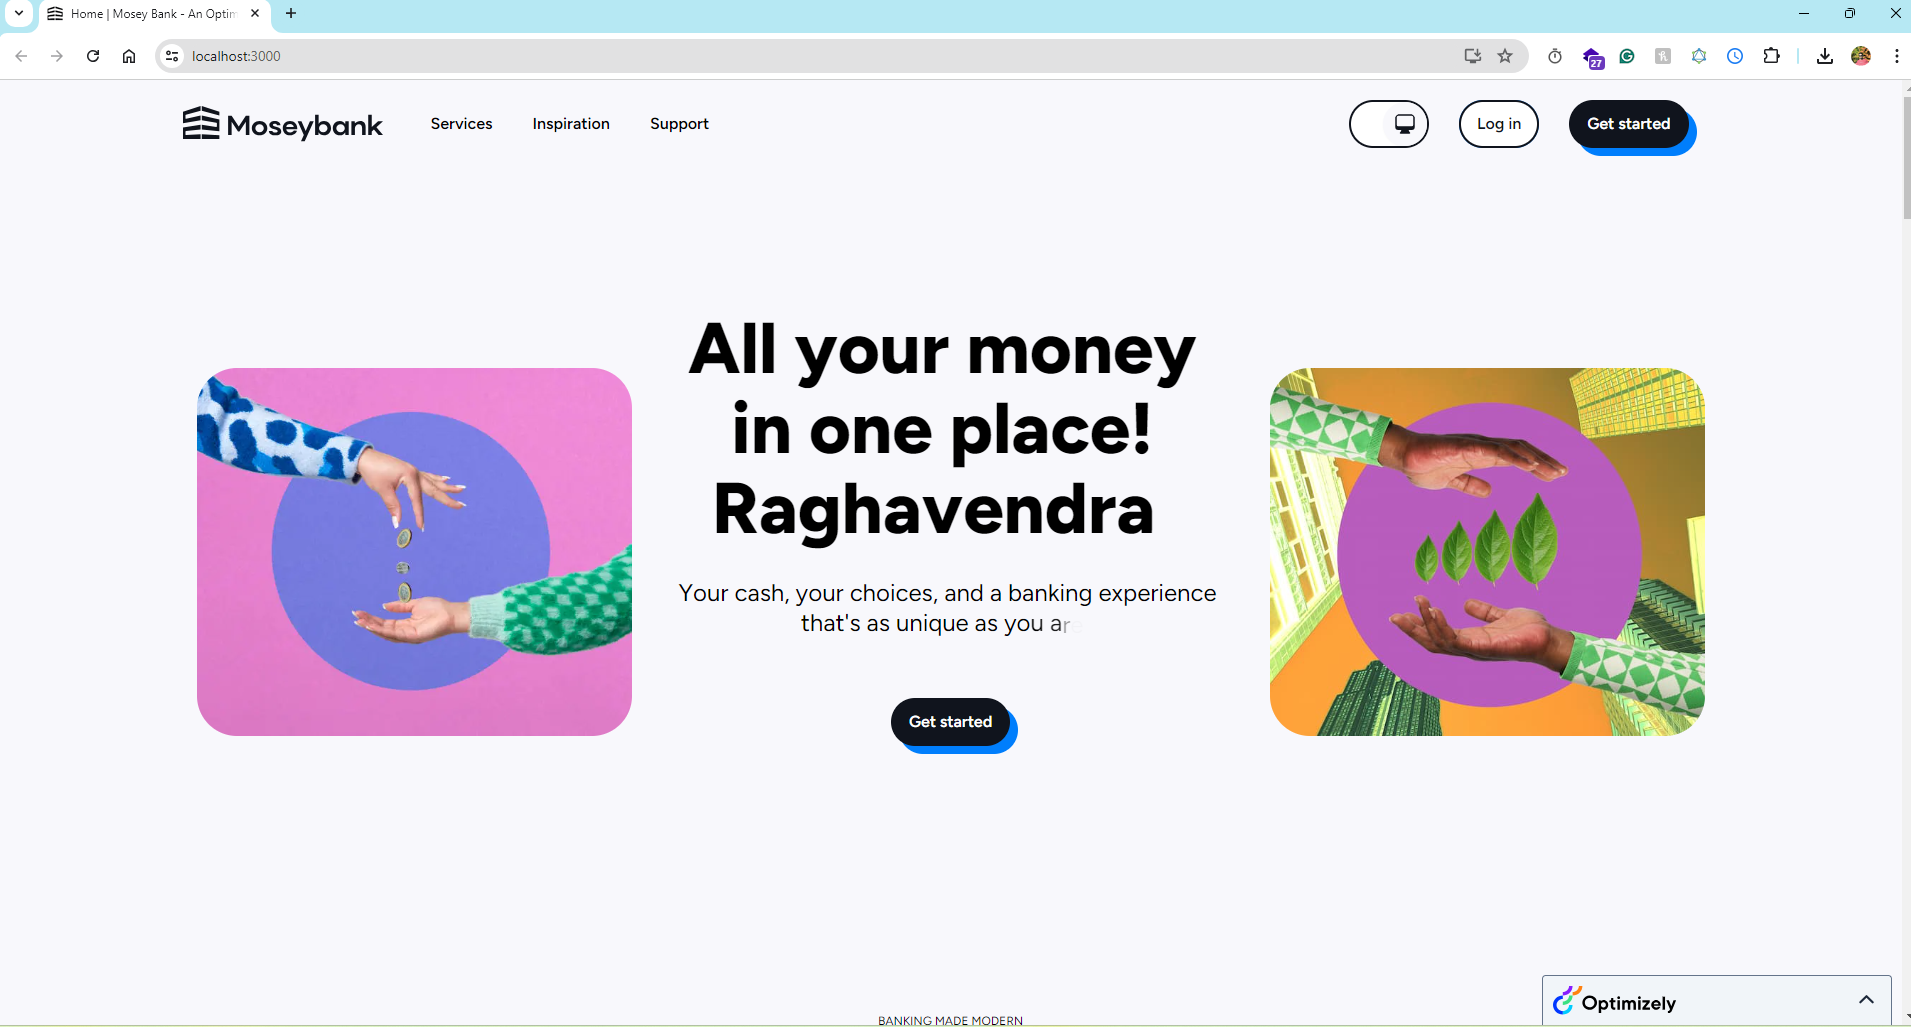
https://localhost:3000The sample Mosey bank app should now be rendering in you locahost connencted to Saas CMS🎉

We have now configured your SaaS instance to work seamlessly with your local Next.js application. By hooking up the local frontend application to the SaaS instance, we facilitate easier development and debugging.The following steps will demonstrate how easily content updates are published from the SaaS instance.
Seamless content updates published from the SaaS instance
- Go to CMS
- Navigate to
Settings > Applications.- Select Application, goto hostnames
- revert your host name from
https://localhost:3000tohttps://{your-vercel-url}.vercel.app/(deployed vecel URL)
- Select any component and edit the content you wish to udpate and publich the changes.
Conclusion
You now have a comprehensive understanding of how to configure your SaaS instance to integrate with your local Next.js application. This setup ensures that content updates made in the SaaS instance are instantly reflected in your local development environment, facilitating a smooth and efficient development process. With this foundation in place, you are well-equipped to leverage Optimizely’s powerful features to enhance your application’s functionality and user experience. Stay tuned for the next installment in this series, where we will explore how to extend a block by adding a new field, render the front-end updates on the app & deploy the feature changes to vercel using feature builds.
References
Special thanks to Remko, Patrick Opti slack community for their valuable contributions & documentation.
