
Welcome to the final part of our Optimizely SaaS CMS proof-of-concept (POC) blog series. In the previous post, we explored how to configure your SaaS instance to integrate with your local Next.js application, where content updates made in the SaaS instance are instantly reflected in your local development environment. This time, we’ll dive into extending a component within the CMS and rendering it in the frontend application. Additionally, we’ll explore the workflow of making changes in a feature branch, pushing these changes, and observing the deployment on Vercel with the Vercel Toolbar option.
Prerequisites
- Completion of Optimizely set up Part 2
- Visual Studio Code🡕
CMS - Extending a Blog Post page type with a new property
- Log in to Optimizely SaaS
- Go to
Settings > Content Types. - Add a new string property called
Reading Time(ReadingTime)toBlog postpage type under thecontenttab. Save the changes. - Go to
Settings > Scheduled JobsrunOptimizely Graph Delta Synchronizationjob to synchronizes the content changes. - Navigate to
CMS edit > Content treeselect any blog post page and change to All Property view. - Edit the
Reading Timeproperty, add sample value and publish the changes the changes.
Next.js - Render the new property in the frontend
- Open the
appa/frontend/functions.tsfile. - Append the new property
readingTimeto bothgetContentById()&getContentByPath()underBlogPostPageDatafragment GQL queries.
fragment BlogPostPageData on BlogPostPage {
  blogTitle: Heading
  readingTime: ReadingTime
  blogSubtitle: ArticleSubHeading
  blogImage: BlogPostPromoImage {
    ...ReferenceData
  }
  blogBody: BlogPostBody {
    json
  }
  blogAuthor: ArticleAuthor
}
- Open the
pages/blog-post-page/index.tsxfile. - In the Component definition & destructuring section, extend the new property called
readingTime:timeto theBlogPostPageobject at the top of the page.
data: {
  blogTitle: title,
  blogImage: image,
  readingTime: time,
  blogBody: description,
  blogAuthor: author,
  blogSubtitle: subtitle
}- In the CMS editable rendering structure, add a new
<CmsEditable>component to render thereadingTimeproperty.
<CmsEditable
  cmsFieldName="ReadingTime"
  as="p"
  className="mb-[24px] text-[12px]"
>
  {time ?? ""}
</CmsEditable>- Save the changes, run, and observe the new property changes in the frontend at
https://localhost:3000. - Log in to Optimizely SaaS where the application is configured to use the local development environment at
https://localhost:3000. - In CMS Edit, go to any blog post page and edit the
Reading Timeproperty using the in-line editing feature 🎉.
Vercel - Deploy the changes to Vercel
Vercel’s Git integration streamlines the development process by automatically generating Preview Deployments for each pull or merge request on feature branches. This functionality empowers developers to thoroughly evaluate new features and modifications in isolated environments prior to merging with the main branch. The Comments feature facilitates real-time feedback on these preview environments, enhancing collaboration. Additionally, the Vercel Dashboard offers the flexibility to deploy specific commits or the most recent changes from a branch, giving developers precise control over their deployments.
- Using git, create a new feature branch for the changes made in the previous step.
- Commit the feature branch changes and push the changes to the remote repository.
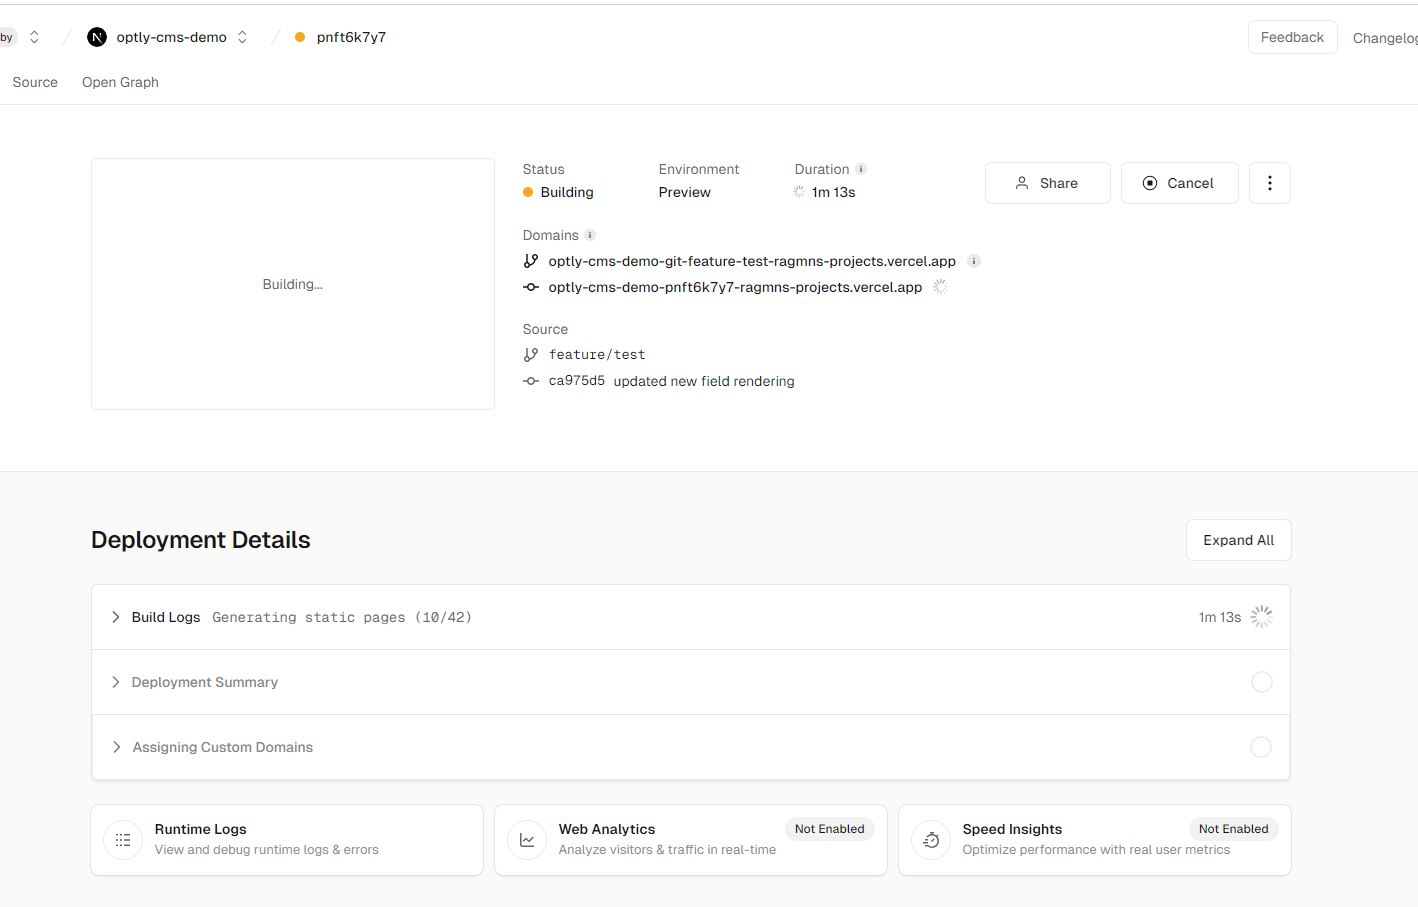
- Navigate to the Vercel dashboard, select the project, and go to Active Branches to view the new feature branch build in progress.
- Once the build is completed, the new changes should be automatically deployed to the Vercel feature branch environment with the amazing Vercel toolbar.

Additional exploration: Vercel provides comprehensive support for feature flags. Check out their documentation for more details!
By combining feature flags with feature branch builds, developers can safely experiment, conduct A/B tests, and gradually roll out new features while minimizing risks and improving the overall development process.
Conclusion
In the final segment of our Optimizely SaaS CMS proof-of-concept (POC) blog series, we wrap up by focusing on enhancing your CMS experience with advanced functionalities. Building upon our previous discussion where we configured the SaaS instance to seamlessly integrate with a local Next.js application, we’ll now delve into extending CMS components and rendering these enhancements in the frontend application. This final post will also guide you through the process of managing feature branches, pushing updates, and utilizing the Vercel Toolbar to monitor deployments. By the end, you’ll have a comprehensive understanding of how to leverage Optimizely SaaS CMS to its full potential, ensuring a streamlined development workflow and efficient content management.
References
Special thanks to Remko, Patrick Opti slack community for their valuable contributions & documentation.